Background
I wanted to create a blog, and do so for free without being bound by a service that holds my content. (GitHub doesn’t count, since the blog files and the posts are saved locally, and I can migrate easily to another git provider, or even a self-hosted git service if I wanted to).
I set up the blog using the Chirpy Jekyll theme and I wanted a method to show blog post views. The method that was suggested on various articles and forums was to use Google Analytics’ pageviews feature. I didn’t want to do this because (1) Google Analytics has privacy concerns and (2) Firefox’s Enhanced Tracking Protection feature (enabled by default) does not allow requests to Google Analytics to be made.
You might have noticed the “visitors” badge on every one of my posts. It looks something like this:
This is my method of showing page views, and here’s how it’s done (for free).
Visitors Badge
There is a handy web application that allows you to embed a visitors badge in Markdown or HTML for free, and statically. The application itself is made using Flask.
I suggest that you don’t use the public instance available. Instead, host the code on your Glitch instance.
Hosting the Application
Glitch is a web application hosting platform, similar to Heroku, but it is easier to set up applications on Glitch.
First, create an account on Glitch (or login) then navigate
Then, navigate to your dashboard, and in the top-right corner, click “New Project” and “Import from GitHub” as is shown below.

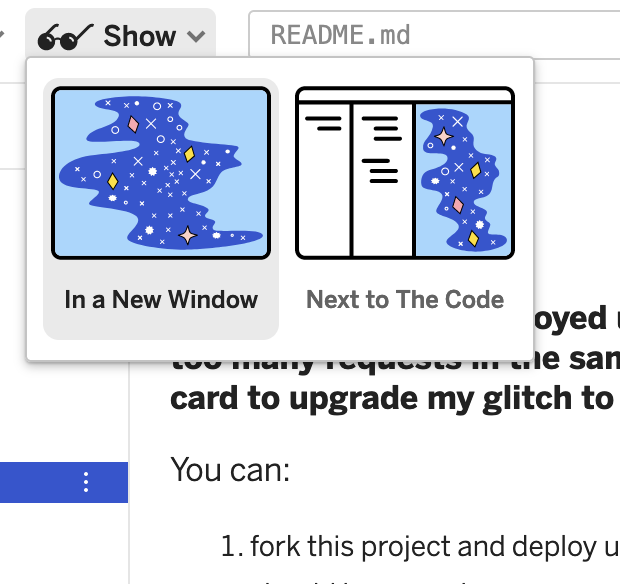
Paste the link “https://github.com/jwenjian/visitor-badge” into the dialogue the appears and wait for the project to load. Then, navigate to the project’s page by pressing the “Show” button in the top-left, then pressing “In a new window”.

Adding the Badge
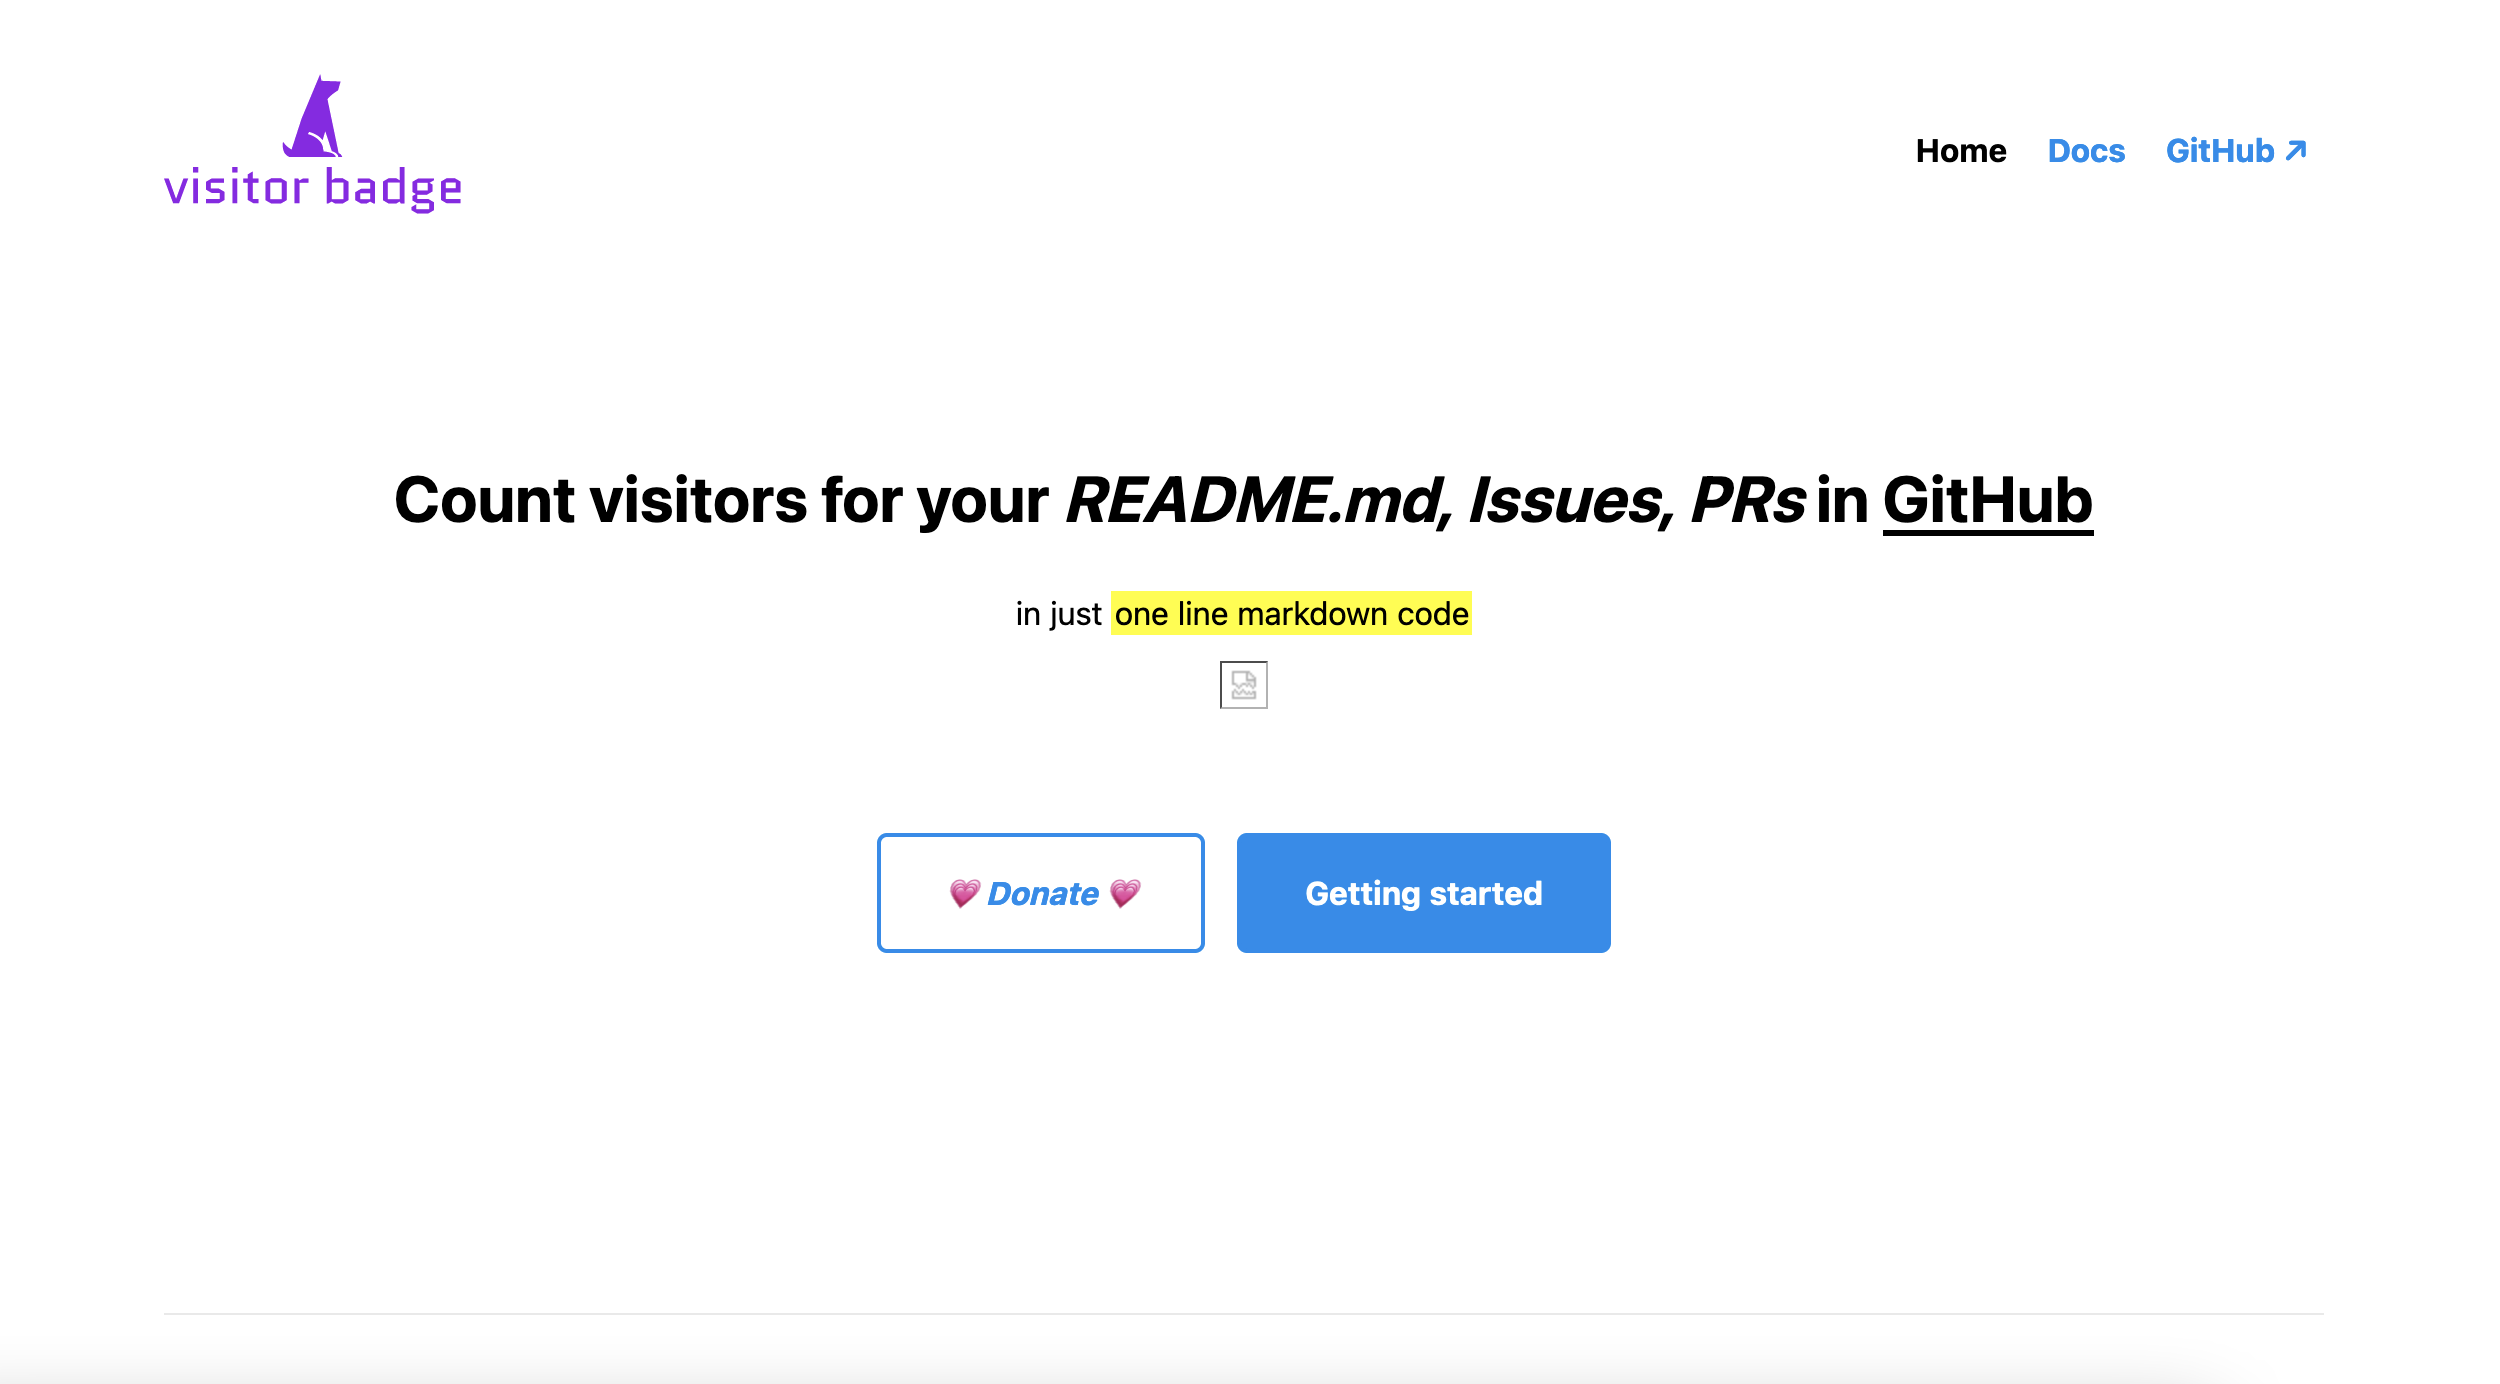
Then, you’ll a page that looks like this:

Click on “Docs” in the top-right the follow the instructions to embed your badge using Markdown or HTML.
Recommended: Keeping Application Awake
There is a catch though; if you’re using Glitch’s free tier (as I am), the application will go to sleep after five minutes of inactivity. You can use a cron job (a repeated task) to stop the application from going to sleep.
To read more about cron, you can read its Wikipedia article.
We’ll be using cron to run a script every four minutes. That script will be a Python script that uses Selenium (a browser automation tool) to visit the Glitch application, therefore ensuring that it never goes to sleep, as long as your computer is awake.
You will need the following technical knowledge.
- Using the CLI
- Python
- A basic understanding of Selenium
First, you need to download the Firefox browser and “geckodriver”, a browser automation driver that Selenium uses to interact with Firefox.
You can install “geckodriver” from the following link:
Remember the path where “geckodriver” is installed.
Then, create a Python file with the following content:
1
2
3
4
5
6
7
8
#!/usr/local/bin/python3
from selenium import webdriver
from selenium.webdriver.firefox.options import Options
firefox_options = Options()
firefox_options.add_argument('--headless')
driver = webdriver.Firefox(executable_path='/path/to/geckodriver', options=firefox_options, service_log_path='/dev/null' if on Linux/Mac or 'nul' if on windows)
driver.get('your Glitch application URL')
driver.quit()
Then, give the Python script the necessary permissions to be run as executable, like the following.
1
chmod +x path/to/script.py
Use your cron tool to create a task that runs every four minutes. It can look like this on Mac (if you’re using crontab, the in-built cron tool on OS X).
1
2
3
MAILTO=""

*/4 * * * * cd path/to/directory/of/python/script && ./python_file_name.py 2>&1
If you’re using a Mac, there may be cron permissions issues, and if the task does not seem to work, you may need to drag the cron executable from /usr/sbin into “Full Disk Access” in the Security and Privacy section in System Preferences.
If you want to ensure that your cron job runs even when your computer is asleep or closed, you can run your cron on an online service (none of the free services seemed to work for me though, since I couldn’t run custom scripts).
And that’s it!
